


Turn a Company Logo Into an Embroidery Design
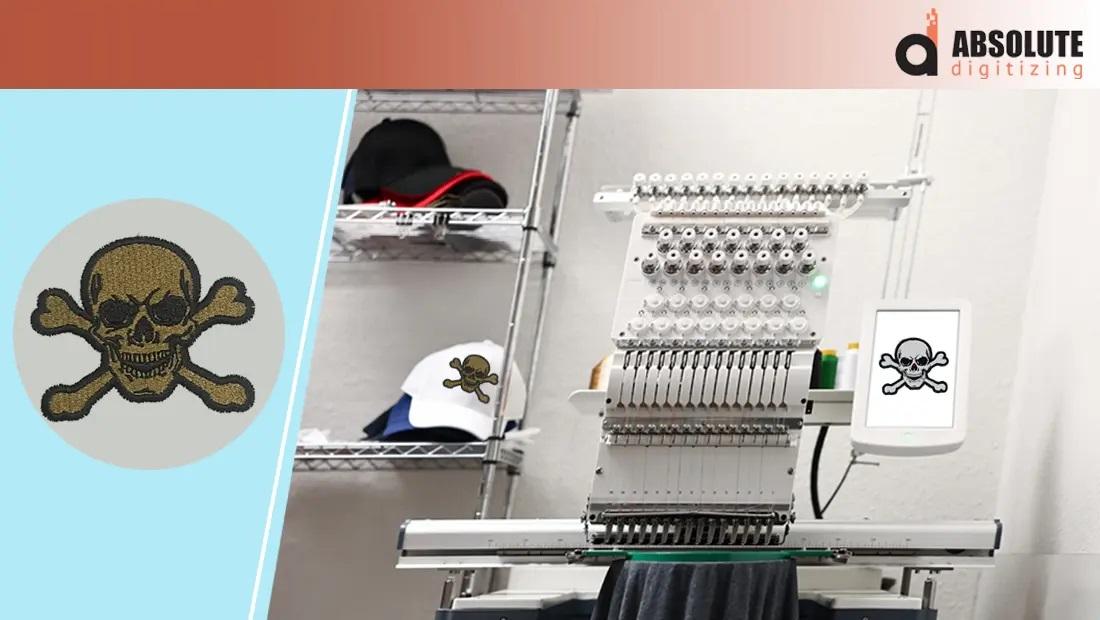
Your company logo may look perfect on a website, business card, or social media page. But when you want that same logo stitched onto a shirt, jacket, cap, or bag, things change.
An embroidery machine cannot read a regular JPG or PNG like a person can. It needs a special file containing detailed instructions for creating the logo with thread.
That is why learning how to turn a company logo into an embroidery design is important for businesses that want professional-looking branded apparel. The process involves much more than converting an image file. It requires embroidery digitizing, where artwork is transformed into carefully planned stitches.
In this guide, we will explain how the process works, what makes a logo embroidery-friendly, common mistakes to avoid, and how to prepare a design that stitches cleanly.
What Does It Mean to Turn a Company Logo Into an Embroidery Design?
Turning a company logo into an embroidery design means converting digital artwork into a machine-readable embroidery file.
Your original logo contains visual information such as:
-
Shapes
-
Colors
-
Lines
-
Text
-
Borders
-
Patterns
An embroidery design contains stitch information instead.
The digitized file tells the embroidery machine where to place stitches, which direction they should follow, when to stop, when to change colors, and how different parts of the logo should be sewn.
Think of it this way: your logo is the picture on the recipe card, while the embroidery file is the actual recipe telling the machine how to recreate it with thread.
Why Turn a Company Logo Into an Embroidery Design?
Embroidered company logos can make branded clothing look polished and professional. They are commonly used for employee uniforms, promotional products, sportswear, workwear, and corporate apparel.
A digitized logo can be embroidered on:
-
Polo shirts
-
T-shirts
-
Jackets
-
Work uniforms
-
Caps
-
Beanies
-
Tote bags
-
Aprons
-
Backpacks
-
Embroidered patches
A well-digitized logo can also maintain a consistent appearance across different products.
However, the same digital artwork may need different digitizing adjustments depending on where it will be stitched.
A small left-chest logo, for example, may need simpler details than a large jacket-back design.
How to Turn a Company Logo Into an Embroidery Design
Creating an embroidery-ready logo involves several steps. Each one plays a role in the final stitch quality.
1. Start With the Best Logo File
Begin with the highest-quality artwork available.
A clear logo makes it easier to identify edges, shapes, text, and colors. Vector artwork can be especially helpful because it can be resized without losing sharpness.
Common source files include:
-
PNG
-
JPG
-
SVG
-
EPS
-
AI
-
PDF
If your only logo is a low-resolution image, it may need to be cleaned or redrawn before digitizing.
2. Clean Up the Artwork
Not every detail that works on a screen will work with thread.
Your logo might contain thin lines, tiny text, shadows, gradients, or other elements that are difficult to reproduce through embroidery.
Before digitizing, inspect the artwork and simplify details where necessary.
For example, a company slogan may look readable on a large computer screen but become difficult to recognize when embroidered at three inches wide.
The goal is to preserve the identity of the logo while making it suitable for the physical limitations of embroidery.
3. Choose the Final Embroidery Size
The intended size should be decided before digitizing whenever possible.
A logo for a cap front has different requirements from one intended for a large jacket back.
Consider:
-
Where the logo will be placed
-
Final width and height
-
Fabric type
-
Hoop size
-
Garment construction
-
Level of detail
This information helps determine how small the lettering can be, how dense the stitches should be, and which stitch types are appropriate.
4. Divide the Logo Into Embroidery Objects
During digitizing, the artwork is separated into individual objects.
Each section is then assigned an appropriate stitch type.
For example, a large solid area might use a fill stitch, while a narrow border or letter may work better with a satin stitch.
Common embroidery stitch types include:
Satin Stitch
Satin stitches are commonly used for lettering, borders, and narrow shapes. They can provide a smooth and slightly raised appearance.
Fill Stitch
Fill stitches are designed to cover larger areas. They are often used for broad sections of logos and solid shapes.
Running Stitch
Running stitches are useful for fine outlines and narrow details where a heavier stitch would be unnecessary.
Choosing the right stitch type helps control the appearance, durability, and stitch count of the finished design.
5. Set the Stitch Direction
Stitch direction is another important part of embroidery digitizing.
Changing stitch angles between suitable sections can help create visual separation and improve the way light reflects from the thread.
For example, if two neighboring areas have different shapes, giving them different stitch directions can make each section easier to distinguish.
A good digitizer does not simply fill every area with stitches. The direction of those stitches is planned around the shape and structure of the logo.
6. Adjust Stitch Density
Stitch density refers to the spacing between stitches.
If stitches are packed too closely together, the embroidery can become bulky. It may also increase thread usage and create problems such as puckering or thread breaks.
If density is too low, the fabric may show through the design.
The ideal setting depends on several factors:
-
Fabric type
-
Thread type
-
Stitch type
-
Design size
-
Stabilizer
-
Garment construction
There is no universal density setting that works for every company logo.
7. Add Underlay Stitches
Underlay is the foundation beneath the visible embroidery.
It helps stabilize the fabric and provides support for the top layer of stitches.
Depending on the design, underlay can help:
-
Reduce fabric movement
-
Improve stitch coverage
-
Support satin stitches
-
Create cleaner edges
-
Improve design stability
The amount and type of underlay should be selected according to the object and material. Excessive underlay can create unnecessary bulk.
8. Apply Pull Compensation
Embroidery can cause fabric and stitches to shift slightly during sewing. This can make some objects appear narrower than intended.
Pull compensation helps account for this effect.
It is especially useful when digitizing:
-
Small lettering
-
Satin columns
-
Borders
-
Narrow shapes
-
Detailed logos
Correct compensation helps the finished embroidery remain closer to the intended artwork.
9. Plan the Stitch Sequence
The order of stitching matters more than many beginners realize.
A carefully planned sequence can reduce unnecessary jumps, thread changes, and machine movement.
For example, larger background elements may be stitched first, followed by smaller foreground details.
Good sequencing can improve both the appearance of the design and the efficiency of the embroidery process.
10. Match the Logo's Thread Colors
After creating the stitch objects, assign appropriate thread colors.
Try to match the company's branding as closely as possible. Keep in mind that thread colors may look different from colors displayed on a monitor.
The fabric color can also affect how a particular thread appears.
If color accuracy is important for your brand, create a test sample before producing a large batch of garments.
11. Export the Correct Embroidery File
Once digitizing is complete, the design needs to be saved in a format compatible with the intended embroidery machine.
Popular embroidery formats include:
-
DST
-
PES
-
JEF
-
EXP
-
HUS
-
VP3
-
XXX
The correct format depends on the machine being used.
This is important because an embroidery file is not simply an image with a different extension. It contains actual stitch data.
12. Test Stitch the Company Logo
A digital preview can show how the design is expected to look, but a test sew-out tells you how it actually performs on fabric.
Before beginning bulk production, stitch the design on the same or similar material that will be used for the final garments.
Check for:
-
Puckering
-
Gaps
-
Thread breaks
-
Uneven lettering
-
Poor registration
-
Excessive density
-
Incorrect color sequence
-
Unwanted jump stitches
If something looks wrong, make adjustments to the digitized file before production.
Can Any Company Logo Be Turned Into Embroidery?
In most cases, yes, but not every logo can be reproduced exactly as it appears on a screen.
Some logos contain:
-
Very small text
-
Extremely thin lines
-
Complex gradients
-
Fine details
-
Tiny patterns
-
Many overlapping elements
These features may need to be simplified for embroidery.
This does not mean the brand identity has to change. Instead, the artwork is adapted so it can be represented clearly using thread.
What Makes a Logo Good for Embroidery?
An embroidery-friendly company logo generally has clear shapes and details that can be reproduced at the intended size.
Good candidates often feature:
-
Bold shapes
-
Clear outlines
-
Readable lettering
-
Limited colors
-
Strong contrast
-
Appropriate line thickness
-
Simple design elements
Simple does not necessarily mean boring. A clean logo can often produce a sharper and more recognizable embroidered result.
Company Logo Embroidery for Different Products
The final product should influence how the design is digitized.
Left-Chest Logos
Small chest logos often require careful attention to lettering and fine details. Anything too small can become difficult to read.
Cap Logos
Caps have curved surfaces, so digitizing needs to account for the way the fabric and material behave during stitching.
Jacket-Back Logos
Large back designs provide more room for detail, but they can also require higher stitch counts and stronger stabilization.
Embroidered Patches
Patches may require a different approach because the design is stitched onto patch material rather than directly onto the garment.
This is why one digitized file should not always be treated as a universal solution for every application.
Common Mistakes When Digitizing Company Logos
Avoiding a few common mistakes can save time, thread, and money.
Using a Low-Quality Logo
Poor artwork makes accurate digitizing harder. Whenever possible, start with clean, high-resolution artwork.
Making the Design Too Detailed
Trying to reproduce every tiny feature can make a small embroidered logo look crowded.
Simplification is often the better choice.
Ignoring Fabric Type
A design that performs well on a firm cotton shirt may behave differently on stretchy or textured fabric.
The digitizing approach should match the material.
Using Excessive Stitch Density
More stitches do not automatically mean better embroidery. Excessive density can create unnecessary bulk and fabric distortion.
Skipping the Test Sew-Out
A test stitch is one of the simplest ways to catch problems before they affect an entire production order.
Professional vs. Automatic Logo Digitizing
Automatic digitizing tools can be useful for basic designs and experimentation. They can quickly convert artwork into preliminary stitch objects.
However, automatic results may need manual corrections.
Professional digitizing provides greater control over details such as:
-
Stitch direction
-
Underlay
-
Density
-
Pull compensation
-
Stitch sequencing
-
Small lettering
-
Fabric-specific settings
For an important company logo, these details can make a significant difference.
How Absolute Digitizing Can Help
If you need to turn a company logo into an embroidery design, Absolute Digitizing can help prepare your artwork for professional embroidery.
The focus is not simply on changing an image into an embroidery file. Proper digitizing considers how the logo will actually behave when stitched.
This includes decisions about stitch types, density, underlay, sequencing, lettering, and the intended application.
Whether the logo is needed for employee uniforms, promotional apparel, caps, jackets, or other products, a properly digitized design can make the production process smoother and more reliable.
Tips for Getting a Professional Embroidered Logo
Keep these practical tips in mind:
-
Start with clean artwork.
-
Decide the final embroidery size first.
-
Keep tiny details simple.
-
Use embroidery-friendly lettering.
-
Choose stitch types according to each shape.
-
Match density to the fabric and design.
-
Use appropriate underlay.
-
Apply pull compensation where needed.
-
Choose the correct machine format.
-
Always test stitch before bulk production.
These steps may seem small, but together they can have a major impact on the final result.
Conclusion
Learning how to turn a company logo into an embroidery design is really about translating artwork into a language an embroidery machine understands.
A successful design needs more than the right file extension. It requires thoughtful digitizing, suitable stitch types, correct density, proper underlay, good sequencing, and adjustments based on the fabric and final size.
If your company logo is going on uniforms or promotional products, take the time to prepare it correctly. A clean, well-digitized design will look more professional and can help your brand stand out wherever it is embroidered.
FAQs
1. Can I turn a JPG company logo into an embroidery design?
Yes. A JPG can be used as the starting artwork for embroidery digitizing. However, it must be converted into stitch data using embroidery digitizing software rather than simply changing the file extension.
2. What file is needed to embroider a company logo?
The required file depends on the embroidery machine. Common machine embroidery formats include DST, PES, JEF, EXP, HUS, and VP3. Always check which format your machine supports.
3. Does a logo need to be simplified for embroidery?
Sometimes. Tiny text, thin lines, gradients, and very detailed elements may not reproduce clearly with thread. Simplifying these features can make the embroidered logo cleaner and easier to recognize.
4. How long does it take to digitize a company logo?
The time depends on the logo's size, detail, number of colors, lettering, and intended application. A simple logo can be much quicker to digitize than a complex design with many small elements.
5. Should I test my logo before bulk embroidery?
Yes. A test sew-out can reveal issues with density, lettering, registration, thread colors, and fabric behavior before you embroider a large production order.

 Arabic
 French
 Spanish
 Portuguese
 Deutsch
 Turkish
 Dutch
Dutch
 Italiano
 Russian
 Romaian
 Portuguese (Brazil)
 Greek
Greek