


Turn a Logo Into a JEF Embroidery File: Easy Guide
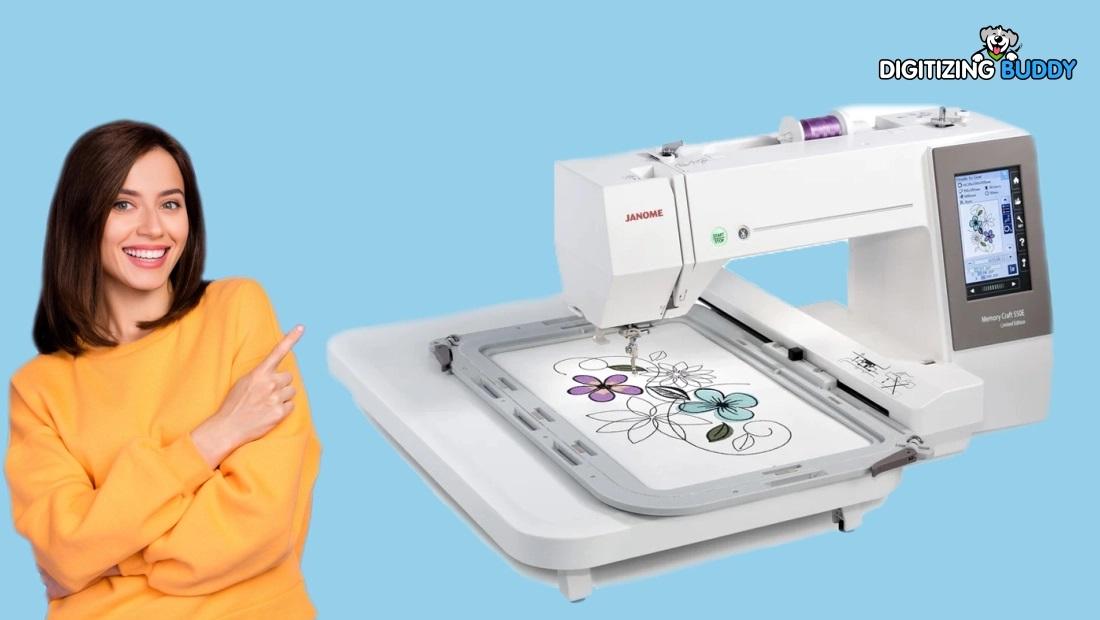
Your logo may look perfect on a screen, but embroidery machines cannot simply stitch a JPG, PNG, or other image file. They need a special embroidery format that tells the machine exactly where, how, and in what order to stitch.
If you want to turn a logo into a JEF embroidery file, the process involves more than changing the file extension. Your artwork needs to be digitized into stitches and saved in the JEF format so a compatible Janome embroidery machine can read it correctly.
The good news? Once you understand the process, it becomes much easier to prepare logos for embroidery. In this guide, we will walk through the process, explain what makes a good embroidery file, and share practical tips for getting cleaner stitching.
What Is a JEF Embroidery File?
JEF is an embroidery file format commonly associated with Janome embroidery machines. Unlike an image file, a JEF file contains embroidery information that the machine can understand.
This information can include:
-
Stitch placement
-
Stitch direction
-
Stitch sequence
-
Thread colors
-
Stitch types
-
Design dimensions
-
Needle movement
-
Trims and jumps
Think of your logo as a picture and the JEF file as a set of instructions. The picture shows what the design should look like, while the embroidery file tells the machine how to create it with thread.
That is why simply renaming a PNG or JPG file as .jef does not actually create a usable embroidery design.
Why Turn a Logo Into a JEF Embroidery File?
Converting a business logo into an embroidery-ready design can open up many possibilities.
You can use a digitized logo on:
-
Polo shirts
-
Jackets
-
Caps and hats
-
Work uniforms
-
Tote bags
-
Sportswear
-
Aprons
-
Promotional clothing
-
Embroidered patches
For businesses, embroidered logos can also create a more professional and consistent look across uniforms and merchandise.
However, the quality of the final embroidery depends heavily on how the logo is digitized. A poorly prepared file can result in messy stitches, gaps, thread breaks, or distorted details.
How to Turn a Logo Into a JEF Embroidery File
The process usually involves several important stages. Here is a practical workflow you can follow.
1. Start With Good-Quality Logo Artwork
The better your original artwork, the easier it is to create a clean embroidery design.
A high-resolution PNG, JPG, SVG, EPS, or other suitable artwork can provide useful information about the logo's shapes and colors.
If your logo is blurry or extremely small, it may need to be cleaned up before digitizing.
Look for:
-
Clear outlines
-
Simple shapes
-
Readable text
-
Defined colors
-
Minimal unwanted background elements
Remember that embroidery has physical limitations. A detail that looks great on a computer screen may be too small to reproduce with thread.
2. Clean and Prepare the Artwork
Before digitizing, inspect your logo carefully.
Remove unnecessary backgrounds, fix rough edges, and simplify complicated details where necessary.
For example, imagine a logo containing a tiny slogan with very thin letters. You might need to enlarge or simplify those letters for embroidery.
This is not about changing the brand identity. It is about adapting the artwork so it works well with thread and fabric.
3. Choose the Correct Design Size
Embroidery designs should be created at their intended size whenever possible.
A logo designed for a left-chest position may be much smaller than a large jacket-back design. If you create the design at one size and dramatically resize it later, stitch quality can suffer.
Consider where the logo will be embroidered before digitizing it.
Common placement areas include:
-
Left chest
-
Hat front
-
Sleeve
-
Jacket back
-
Shirt pocket
-
Bag front
The location and size can influence stitch density, lettering, and detail.
4. Convert the Artwork Into Stitches
This is the most important part of the process.
Embroidery digitizing software is used to transform artwork into stitch objects. Instead of treating the logo as a flat picture, the digitizer decides how every part should be embroidered.
Different areas may require different stitch types.
For example:
Satin stitches can work well for borders, narrow columns, and lettering.
Fill stitches are useful for larger areas of a logo.
Running stitches can be helpful for fine outlines and delicate details.
A skilled digitizer also determines the correct stitch direction, density, underlay, and sewing sequence.
5. Set Stitch Density Carefully
Stitch density controls how closely stitches are placed together.
Too much density can make an area stiff and bulky. It can also increase thread breaks and cause unnecessary stress on the fabric.
Too little density can leave gaps or allow the fabric to show through.
The correct density depends on several factors, including:
-
Fabric type
-
Design size
-
Thread type
-
Stitch type
-
Design area
-
Garment stability
This is one reason professional embroidery digitizing is more than simply clicking an "auto convert" button.
6. Add Appropriate Underlay
Underlay stitches are placed beneath the visible stitches to help stabilize the fabric and support the top layer.
A suitable underlay can help:
-
Reduce fabric movement
-
Improve stitch coverage
-
Support satin stitches
-
Create cleaner edges
-
Improve overall embroidery stability
However, adding too much underlay is not always better. The underlay should match the design, fabric, and stitch structure.
7. Set the Stitch Sequence
The order in which objects are embroidered matters.
A well-planned sequence can reduce unnecessary thread changes, jump stitches, and machine movement.
For example, background areas may be stitched before smaller foreground details. Lettering and outlines can then be placed in a logical order to improve the final appearance.
Good sequencing also makes the embroidery process more efficient.
8. Add Thread Colors
Match the logo's colors as closely as possible using the thread system available for your embroidery setup.
Keep in mind that thread and screen colors do not always look exactly the same. The final appearance can also change depending on the fabric color and thread material.
For important branding projects, it is smart to test the thread colors on the actual fabric before producing a large batch.
9. Save the Design in JEF Format
Once the logo has been properly digitized, save or export the finished design in the JEF embroidery format.
This creates a machine-readable embroidery file containing the stitch instructions.
Make sure you select the appropriate hoop and machine settings before exporting. Different machines can have different size and compatibility requirements.
10. Test Stitch the Design
Never assume a design is perfect just because it looks good on the computer.
A test sew-out can reveal problems that are difficult to notice during on-screen editing.
Check for:
-
Uneven lettering
-
Fabric puckering
-
Gaps between objects
-
Excessive density
-
Thread breaks
-
Poor registration
-
Incorrect color order
-
Unwanted jump stitches
If something looks wrong, return to the digitizing software and adjust the design before production.
Can You Convert JPG or PNG Directly to JEF?
Not in the true sense.
A JPG or PNG is a raster image, while JEF is an embroidery machine format. A simple file conversion cannot automatically determine the correct stitch types, density, underlay, sequencing, and compensation.
Some software can automatically create stitches from artwork, but automatic conversion often needs manual cleanup.
For simple logos with large shapes and minimal detail, automated tools may provide a useful starting point. Complex logos usually benefit from professional digitizing.
What Makes a Logo Good for JEF Digitizing?
Not every logo is equally easy to embroider.
A good embroidery-friendly logo usually has:
-
Clear shapes
-
Strong contrast
-
Simple details
-
Readable lettering
-
Suitable line thickness
-
Reasonable color count
Very tiny details can be especially challenging.
For example, a thin line that is only a few pixels wide on a screen may not translate well into physical stitches. The digitizer may need to adjust the shape while preserving the overall appearance of the logo.
Tips for Better JEF Embroidery Results
Keep Small Details Simple
Avoid trying to reproduce every tiny detail from the original artwork. Embroidery thread has physical limits.
Simplifying a small element can actually make the finished logo look more professional.
Be Careful With Small Text
Small lettering is one of the most difficult parts of logo embroidery.
If text is too small, stitches can merge together and make letters difficult to read. Choose an embroidery-friendly font and adjust the letter size when necessary.
Consider the Fabric
A design that works beautifully on a stable cotton garment may behave differently on stretchy knit fabric.
Fabric type can affect:
-
Density
-
Underlay
-
Pull compensation
-
Stitch length
-
Stabilizer requirements
Always consider the final material before completing the digitizing process.
Use Pull Compensation
Some embroidery elements can shift or become narrower because fabric moves as stitches are sewn.
Pull compensation helps account for this movement and can improve registration and shape accuracy.
It is particularly important when working with borders, lettering, and overlapping objects.
Avoid Excessive Stitch Counts
More stitches do not automatically mean better embroidery.
An unnecessarily high stitch count can increase production time, thread usage, and the risk of thread breaks.
A skilled digitizer aims for the right balance between coverage, appearance, durability, and efficiency.
Should You Use Automatic Digitizing or Professional Digitizing?
It depends on your project.
Automatic digitizing may be suitable for experimenting with simple artwork or learning the basics of embroidery software.
Professional digitizing is often a better choice when the logo is being used for business branding, uniforms, merchandise, or bulk production.
A professional digitizer can make decisions that automated tools may miss, such as:
-
Object sequencing
-
Stitch direction
-
Density adjustments
-
Underlay selection
-
Pull compensation
-
Small lettering adjustments
-
Fabric-specific settings
For businesses, spending time on the digitizing stage can save money by reducing failed sew-outs and production problems.
How Digitizing Buddy Can Help
If you need to turn a logo into a JEF embroidery file, Digitizing Buddy can help prepare artwork for machine embroidery.
The goal is not simply to change the file format. The logo needs to be professionally digitized so that its shapes, lettering, colors, and stitch structure work together.
A properly prepared JEF design can help you achieve cleaner embroidery and reduce common production issues.
Whether you are preparing a single logo or multiple designs for a larger project, professional digitizing can make the process much smoother.
Common Mistakes to Avoid
Renaming the File Extension
Changing logo.png to logo.jef does not convert the artwork into embroidery data.
The design must actually be digitized.
Ignoring the Final Size
A design intended for a large jacket back may not work correctly when reduced to a small chest logo.
Digitize with the intended size in mind.
Using Too Much Detail
Small embroidered designs cannot reproduce every detail found in digital artwork.
Simplification is often necessary.
Skipping the Test Sew-Out
A computer preview cannot fully predict how thread will behave on real fabric.
Testing is an important part of quality control.
Choosing Density Without Considering Fabric
Different materials respond differently to embroidery. Density and stabilization should be selected based on the fabric and design.
JEF File vs. Image File: What's the Difference?
|
Feature |
Image File |
JEF Embroidery File |
|
Main purpose |
Displays artwork |
Controls embroidery |
|
Contains pixels |
Yes |
No |
|
Contains stitch data |
No |
Yes |
|
Readable by embroidery machine |
No |
Yes, when compatible |
|
Includes stitch sequence |
No |
Yes |
|
Includes embroidery settings |
No |
Yes |
|
Ready for machine stitching |
No |
Yes, after proper digitizing |
The key difference is simple: an image describes how something looks, while a JEF file describes how the embroidery machine should create it.
Final Checklist Before Using a JEF File
Before sending your design to the embroidery machine, check the following:
-
Is the artwork clean?
-
Is the design the correct size?
-
Is the selected hoop large enough?
-
Are the thread colors correct?
-
Is the stitch density appropriate?
-
Is the lettering readable?
-
Is the stitch sequence logical?
-
Are underlay settings suitable?
-
Have you checked for unnecessary jumps?
-
Has the design been test stitched?
Taking a few minutes to review these details can prevent frustrating production problems later.
Final Thoughts
Learning how to turn a logo into a JEF embroidery file starts with understanding that embroidery digitizing is more than file conversion. Your artwork must be translated into stitch instructions that account for fabric, thread, size, density, sequencing, and machine compatibility.
For simple designs, embroidery software can help you get started. For detailed logos or professional branding, skilled digitizing can produce a much more reliable result.
The most important step is to think about the final embroidered product—not just how the logo looks on your computer screen. When the artwork, stitch structure, fabric, and machine settings work together, your logo can come out clean, sharp, and professional.
FAQs
1. What is a JEF embroidery file?
A JEF file is an embroidery machine file format used by compatible Janome embroidery machines. It contains stitch information such as stitch placement, sequence, colors, and design instructions.
2. Can I turn a JPG into a JEF file?
Yes, but it requires embroidery digitizing rather than simply changing the file extension. The JPG needs to be converted into stitch-based embroidery data and then exported as JEF.
3. What software can create JEF embroidery files?
Various embroidery digitizing programs can create or export JEF files. The important part is choosing software that supports the required embroidery format and provides enough control over stitches, density, underlay, and sequencing.
4. Why does my converted logo look different when embroidered?
Thread behaves differently from pixels on a screen. Small details, stitch density, fabric movement, underlay, and pull compensation can all affect the final result.
5. How can I get a cleaner JEF embroidery design?
Start with clean artwork, use appropriate stitch types and density, consider the fabric, create the design at its intended size, and always test stitch the finished file before bulk production.

 English
 Arabic
 French
 Spanish
 Portuguese
 Deutsch
 Turkish
 Dutch
Dutch
 Italiano
 Russian
 Romaian
 Greek
Greek